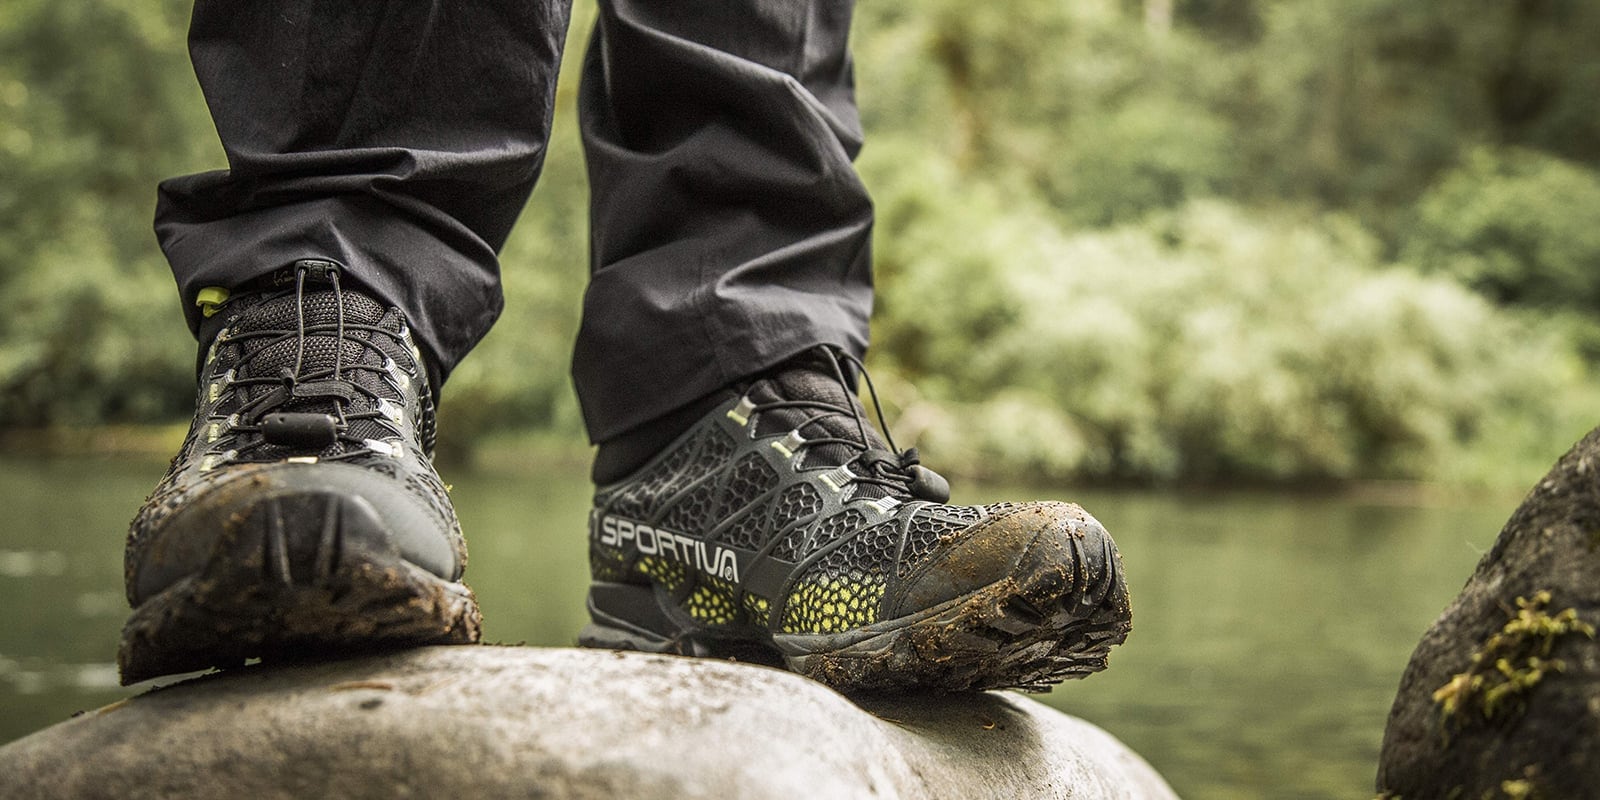
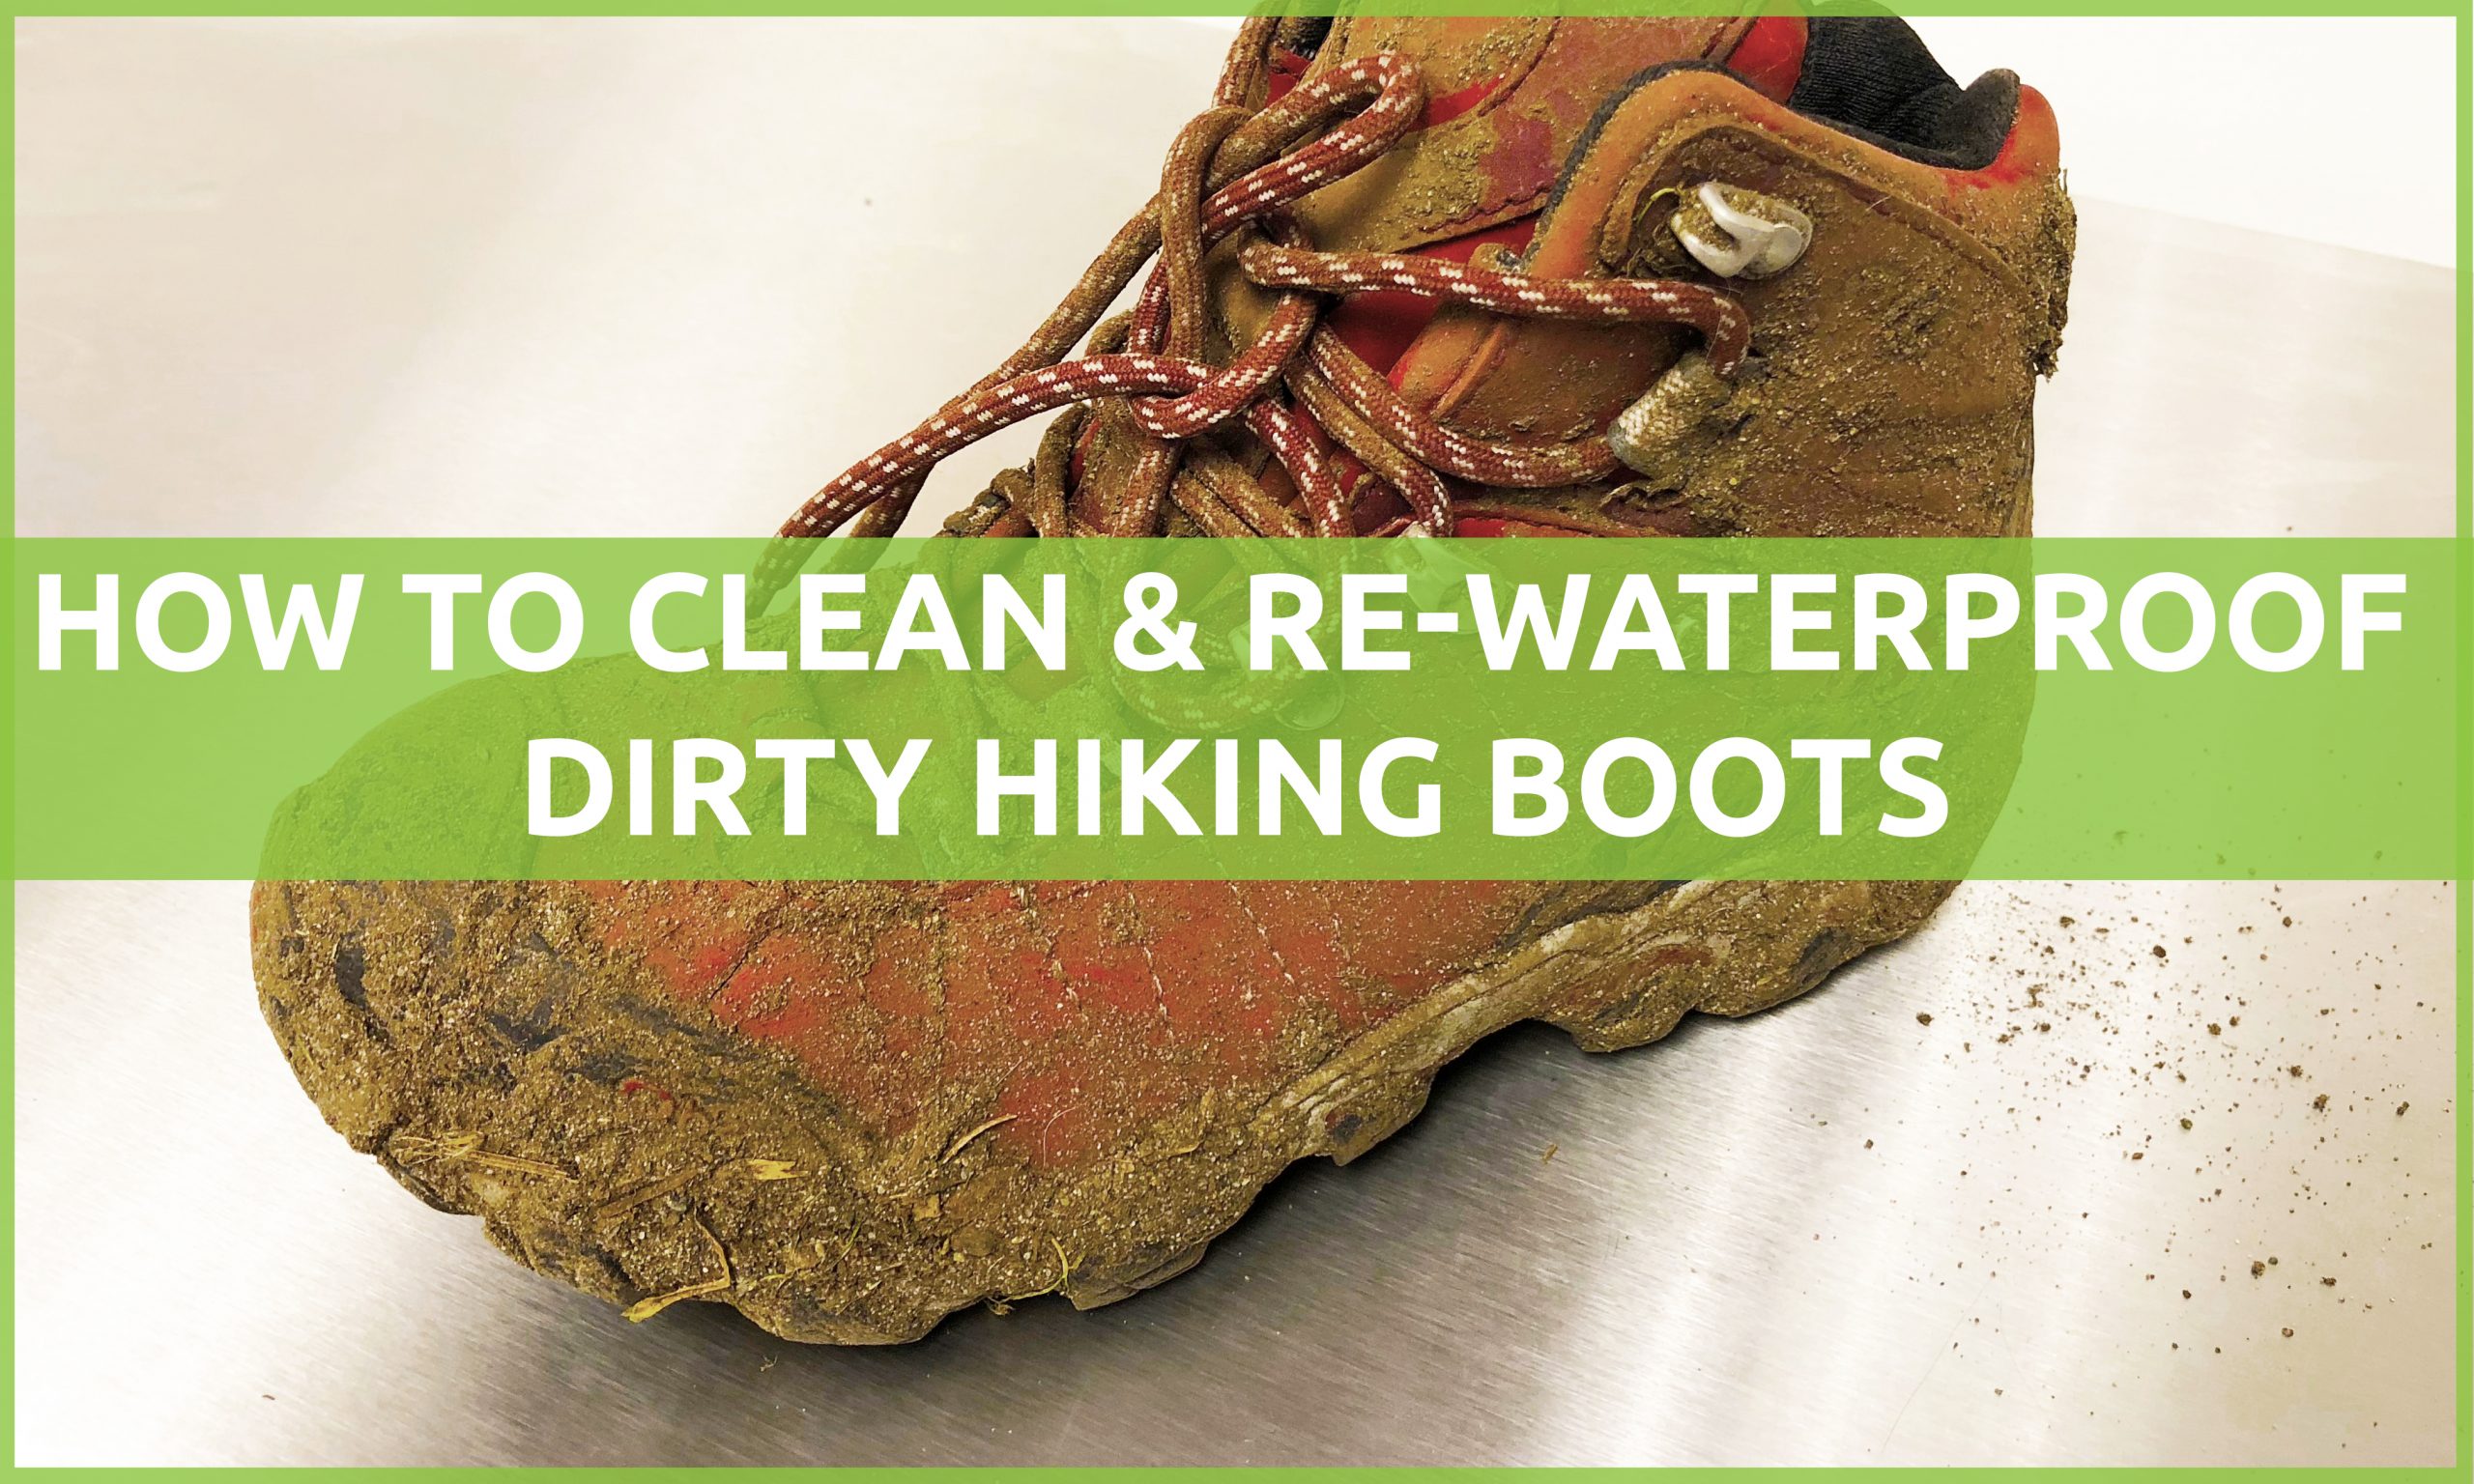
Your hiking boots are more than just shoes—they’re your trusted companions on every trail. But after a long trek, dirt, mud, and grime can wear them down, making your next adventure less comfortable and safe.
If you want your boots to last longer and keep performing at their best, knowing how to clean them properly is key. In this guide, you’ll discover simple, effective steps to refresh your boots quickly and easily. Keep reading, and you’ll never worry about dirty boots slowing you down again.
Prepare Your Boots
Cleaning hiking boots starts with proper preparation. This step makes the cleaning process easier and more effective. Dirt and debris can hide in small places. Prepare your boots to reach every corner and clean them well.
Take your time. Preparing boots carefully protects their material. It also helps keep them comfortable and long-lasting.
Remove Laces And Insoles
Take out the laces first. This allows better access to the tongue and eyelets. You can clean the laces separately. Soak them in warm water with mild soap.
Next, remove the insoles. Dirt, sweat, and odor collect here. Cleaning insoles outside the boots improves hygiene. Let the insoles dry completely before putting them back.
Brush Off Loose Dirt
Use a soft brush to remove loose dirt and mud. Brush gently but thoroughly. Focus on seams, soles, and crevices where dirt collects.
Removing loose dirt first prevents it from spreading during washing. This step keeps your cleaning process neat and effective.
Credit: www.rei.com
Choose Cleaning Supplies
Choosing the right cleaning supplies is important for keeping hiking boots in good shape. The right tools help remove dirt and protect the material. This section covers the best cleaning products and tools to use.
Select Mild Detergents
Use mild detergents made for delicate fabrics or outdoor gear. Strong soaps can damage the boot’s material and waterproof coating. Avoid bleach or harsh chemicals that dry out leather or fabric. Gentle detergents clean dirt without harming the boots.
Gather Soft Brushes And Cloths
Soft brushes remove dirt from seams and soles without scratching. A small brush with gentle bristles works well. Use soft cloths or sponges to wipe the surface clean. Rough materials can cause damage, so choose soft and gentle tools.
Clean The Exterior
Cleaning the exterior of your hiking boots keeps them looking good and working well. Dirt and mud can damage the material over time. Cleaning also helps you spot any wear or damage early. A clean surface makes your boots last longer and stay comfortable on trails.
Spot Clean Stubborn Stains
Use a soft brush or cloth to scrub away tough stains. Focus on mud, grass, or sticky spots. Avoid harsh chemicals that can harm the boot material. Mild soap mixed with water works best. Rub gently to protect the fabric and seams. Wipe off any soap with a damp cloth.
Use Warm Water For Soaking
Fill a basin with warm water, not hot. Soak your boots for 10 to 15 minutes. This loosens dirt stuck deep in the surface. Do not soak for too long to avoid damage. After soaking, scrub lightly with a brush. Rinse well with clean water to remove soap and dirt.

Credit: www.youtube.com
Clean The Interior
Cleaning the inside of your hiking boots keeps them fresh and comfortable. Dirt, sweat, and odor build up inside. This can cause bad smells and damage the materials. Proper care helps your boots last longer and feel better on your feet.
Remove Odors
Start by taking out the insoles. Sprinkle baking soda inside each boot. Let it sit overnight. Baking soda absorbs bad smells. Shake out the powder the next day. You can also use odor-fighting sprays made for shoes. These kill bacteria that cause smells. Keep boots open to air out after each hike. This stops odors from coming back.
Dry Insoles Separately
Take insoles out after every trip. Wash them by hand with mild soap and water. Rinse well to remove soap. Never put insoles in the dryer. Let them dry in a warm, shaded place. Drying insoles separately keeps them from getting damaged. It also helps boots dry faster. Replace insoles when they become worn or smelly. This keeps your boots fresh inside and comfortable to wear.
Dry Boots Properly
Drying hiking boots the right way keeps them in good shape. Wet boots can cause discomfort and damage the material. Proper drying helps boots last longer and stay comfortable for your next hike.
Avoid Direct Heat
Do not put boots near heaters or fireplaces. Direct heat can dry out leather and cause cracks. It also weakens glue holding the boots together. Let boots dry naturally at room temperature. Air circulation helps boots dry evenly and safely.
Use Newspaper For Absorption
Stuff boots with crumpled newspaper to soak up moisture. Change the paper every few hours for faster drying. Newspaper pulls water from inside the boots without harming them. This method keeps the shape of your boots while drying.
Apply Waterproofing
Applying waterproofing protects your hiking boots from water damage. It helps keep your feet dry and comfortable. Waterproofing also extends the life of your boots by preventing cracks and wear. This step is important after cleaning your boots and before your next hike.
Choose Suitable Products
Select a waterproofing product made for your boot material. Leather, fabric, and synthetic boots need different care. Use sprays or waxes designed for hiking boots. Check product labels to ensure they match your boot type. Avoid harsh chemicals that can damage the material.
Apply Evenly And Let Dry
Apply the waterproofing product evenly over the entire boot surface. Use smooth, light strokes to cover every part. Avoid soaking the boots to prevent damage. Let the boots dry fully in a well-ventilated area. Drying time may vary, so follow product instructions carefully.
Maintain Freshness
Keeping hiking boots fresh helps them last longer and stay comfortable. Dirt and moisture can cause bad smells and damage. Regular care keeps boots dry and odor-free. Simple steps make a big difference in freshness.
Store In A Cool, Dry Place
After hiking, remove dirt and dry boots well. Store them in a place with good air flow. Avoid warm or humid spots that cause mold. Use a shoe rack or open shelf for storage. Keep boots away from direct sunlight. This prevents material from cracking or fading.
Regular Cleaning Schedule
Clean boots after every few hikes. Brush off mud and debris before storing. Use mild soap and water for deep cleaning. Avoid harsh chemicals that harm the material. Let boots dry naturally at room temperature. A regular routine stops odor and keeps boots fresh.
Credit: nikwax.com
Frequently Asked Questions
How Often Should I Clean Hiking Boots?
Clean your hiking boots after every few trips or when visibly dirty. Regular cleaning extends their lifespan and maintains performance.
What’s The Best Way To Remove Mud From Boots?
Use a soft brush or cloth to remove dried mud. Avoid harsh scrubbing to protect the boot’s material.
Can I Use Soap To Clean Hiking Boots?
Yes, use mild soap or specialized cleaner. Harsh detergents may damage waterproof coatings or leather.
How Do I Dry Hiking Boots Properly?
Air dry boots at room temperature, avoiding direct heat. Stuff them with newspaper to absorb moisture and retain shape.
Conclusion
Cleaning hiking boots keeps them strong and lasts longer. Dirt and mud can damage the material over time. Regular care helps maintain comfort and support on trails. Use gentle brushes and mild soap for best results. Dry boots naturally, away from direct heat.
Store them in a cool, dry place after cleaning. Clean boots make every hike more enjoyable and safe. Take care of your boots, and they will take care of you. Simple steps lead to better boots and better adventures.