
Are your headlamp lenses looking cloudy or dull? This can make your night driving unsafe and your car less attractive.
But don’t worry—you don’t have to spend a lot of money replacing them. You can bring back the clear shine to your headlights with a simple polishing process. In this guide, you’ll learn easy steps to restore your headlamp lenses, improve your visibility, and make your car look like new again.
Keep reading, and you’ll be surprised how quickly you can get those headlights shining bright!
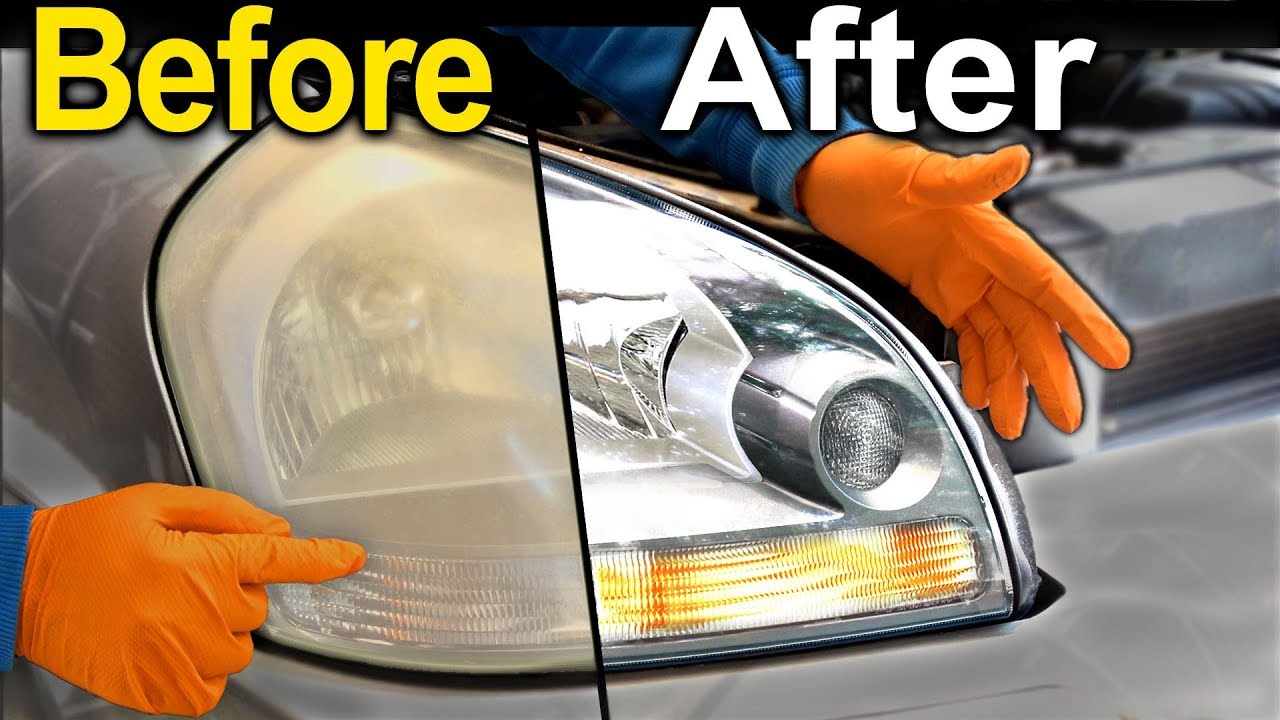
Credit: www.youtube.com
Tools And Materials Needed
Before polishing your headlamp lenses, gather the right tools and materials. Using proper supplies ensures a smooth and effective process. This section lists the essentials and optional items for best results.
Essential Supplies
- Microfiber cloths for cleaning and drying
- Sandpaper in various grits (600, 1000, 2000)
- Plastic polish or rubbing compound
- Water spray bottle to keep surfaces wet
- Masking tape to protect surrounding areas
Optional Accessories
- Electric drill with polishing pad attachment
- UV sealant to protect polished lenses
- Gloves to keep hands clean
- Headlamp restoration kits for convenience
Preparing The Headlamp Surface
Preparing the headlamp surface is a key step before polishing. It helps remove dirt and protects the car paint. Taking time here makes the polish work better and last longer.
Cleaning The Lens
Start by washing the headlamp with soap and water. Use a soft cloth to avoid scratches. Remove all dust, grime, and bugs. Dry the lens with a clean towel. A clean lens helps the polish stick well.
Masking Surrounding Areas
Use painter’s tape around the headlamp edges. This protects the car’s paint from polish and sanding. Cover nearby areas carefully. Masking keeps the process neat and safe for your car.
Choosing The Right Polishing Method
Choosing the right polishing method for headlamp lenses affects the results greatly. Some methods suit light cloudiness, while others work for deep scratches. The lens material and your skill level matter too. Picking a method that fits your needs saves time and effort. It also helps keep your lenses clear and bright longer.
Diy Solutions
DIY polishing uses household items or simple tools. Toothpaste often works well for mild haze. It gently removes grime and small scratches. Baking soda mixed with water makes a light abrasive paste. Use a soft cloth and rub in small circles. DIY methods cost less and are easy to try. They suit small jobs and quick fixes.
DIY polishing takes patience. Do not press too hard to avoid damage. Rinse lenses well after polishing. Let the lens dry before checking results. Repeat if needed but avoid overdoing it.
Commercial Kits
Commercial kits come with special polish and tools. These kits target tougher cloudiness and deeper scratches. They often include sanding pads and buffing cloths. Follow kit instructions closely for the best results. Kits offer a more professional finish than DIY ways. They suit lenses with moderate to heavy wear.
Some kits work with power tools for faster polishing. Others rely on hand polishing for control. Kits cost more but save time and effort. They also include protection coatings to keep lenses clear longer.

Credit: www.drbeasleys.com
Step-by-step Polishing Process
Polishing headlamp lenses improves clarity and restores brightness. The process involves careful steps to remove scratches and haze. Follow these steps to get clear, shiny lenses that improve your car’s look and safety.
Sanding Techniques
Start by cleaning the headlamp with soap and water. Dry it well before sanding. Use wet sandpaper with a grit of 800 to remove surface damage. Keep the surface wet while sanding to avoid heat damage. Sand in a side-to-side motion evenly across the lens. Switch to finer grit sandpaper, like 1500, to smooth the surface. Finish sanding with 2000 grit for a polished base. Rinse and dry the lens after sanding.
Applying Polish
Choose a plastic polish made for headlamps. Apply a small amount to a clean, soft cloth. Rub the polish on the lens using circular motions. Cover the entire surface evenly. Let the polish sit for a few minutes. This helps it work on small scratches and haze. Avoid using too much polish, which can cause streaks.
Buffing The Lens
Use a microfiber cloth or a buffing pad attached to a drill. Buff the lens in gentle, circular motions. Keep the pressure steady but not too hard. Buff until the lens shines and looks clear. Wipe off any leftover polish with a clean cloth. Repeat polishing and buffing if needed for better results.
Post-polishing Care
After polishing headlamp lenses, care is essential to keep them clear and bright. Polishing removes scratches and haze, but the lenses need protection. Proper post-polishing care helps maintain the shine and extends the lens life. Follow these simple steps to protect and maintain your polished headlamp lenses.
Sealing The Lens
Sealing the lens prevents dirt and moisture from damaging the surface. Use a clear UV-resistant sealant designed for plastic lenses. Apply the sealant evenly with a clean cloth or applicator. Allow it to dry fully before exposing the lens to water or sunlight. This step helps stop yellowing and cracking over time.
Maintenance Tips
Keep the lenses clean by washing with mild soap and water. Avoid harsh chemicals or abrasive cleaners that can scratch the surface. Dry lenses gently with a soft microfiber cloth. Regularly inspect for new scratches or cloudiness. Reapply the sealant every few months to maintain protection. Small daily efforts keep your headlamps clear and bright longer.
Common Mistakes To Avoid
Polishing headlamp lenses can improve your car’s look and safety. Avoid common mistakes to get the best results. These errors can cause more damage and waste your time. Learn what to watch for before you start polishing.
Over-sanding Risks
Sanding too much wears down the lens surface. It creates scratches that are hard to remove. This weakens the plastic and reduces light output. Use fine grit sandpaper and sand gently in small circles. Stop sanding once the lens looks smooth and even.
Using Harsh Chemicals
Strong chemicals can eat away the lens material. They cause cloudiness and permanent damage. Avoid using products not made for plastic lenses. Choose gentle cleaners or special polishing compounds. Always test a small area first to check for damage.
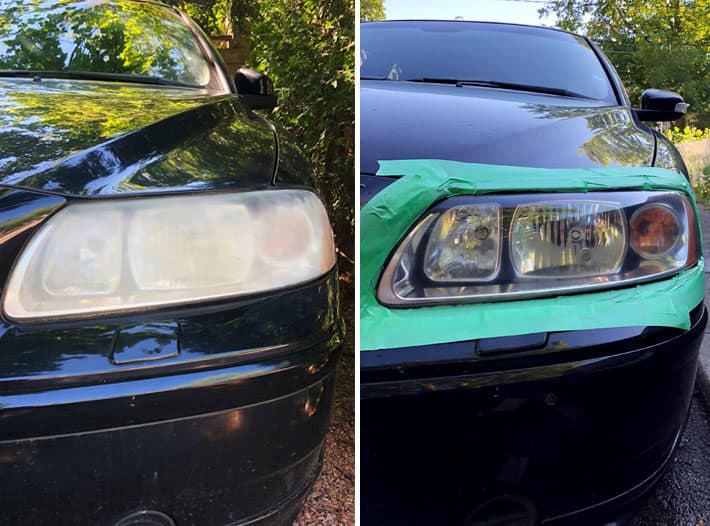
Credit: www.theartofdoingstuff.com
Frequently Asked Questions
How Often Should I Polish Headlamp Lenses?
Polish headlamp lenses every 6 to 12 months to maintain clarity. Regular polishing prevents yellowing and improves night visibility. Frequency depends on driving conditions and exposure to sunlight.
What Materials Do I Need To Polish Headlamp Lenses?
You need sandpaper, polishing compound, microfiber cloth, masking tape, and water. Optional items include a drill with a polishing pad for faster results. These materials ensure effective restoration and protection.
Can Polishing Headlamp Lenses Improve Night Driving Safety?
Yes, polishing removes haze and yellowing, restoring brightness. Clear lenses enhance light output and road visibility. Improved visibility reduces accident risk during nighttime driving.
Is It Safe To Polish Plastic Headlamp Lenses?
Yes, with proper sandpaper grit and polishing compounds designed for plastic. Avoid harsh chemicals that can damage the lens. Follow instructions carefully for safe and effective results.
Conclusion
Polishing headlamp lenses keeps your lights clear and bright. Clean lenses improve your night driving safety. Use the right materials and take your time. Small steps make a big difference in results. Regular care helps avoid costly replacements later. Clear headlights also boost your car’s look.
Try this simple process to see better on the road. Bright lights mean safer trips, every time.