Are you struggling with old, cracked seam sealer on your tent? Removing it might seem tricky, but it doesn’t have to be a hassle.
Your tent’s seams need to be clean and smooth for new sealant to stick properly and keep you dry. If you want to learn the easiest and safest way to get rid of that stubborn old sealer, you’re in the right place.
Keep reading, and you’ll discover simple steps that will save your tent—and your next outdoor adventure.
Tools And Materials Needed
Removing old tent seam sealer needs the right tools and materials. Using proper items makes the job easier and cleaner. You can avoid damage to your tent fabric by choosing the correct supplies.
Gather everything before you start. This saves time and helps you work smoothly.
Protective Gloves
Wear gloves to protect your hands. Seam sealer can be sticky and hard to wash off. Gloves keep your skin clean and safe.
Plastic Scraper Or Old Credit Card
A plastic scraper helps lift the old sealer without tearing the fabric. An old credit card works well too. Avoid metal tools to prevent damage.
Rubbing Alcohol Or Seam Sealer Remover
Use rubbing alcohol to soften the sealer. Some stores sell special seam sealer removers. These products break down the old sealant faster.
Soft Cloth Or Sponge
Use a soft cloth or sponge to wipe away loosened sealer. It helps clean the surface gently without harming the tent material.
Warm Water And Mild Soap
After removing the sealer, wash the area with warm water and mild soap. This removes any leftover residue. Let the fabric dry completely before resealing.
Preparing The Tent For Sealer Removal
Preparing your tent for seam sealer removal is an important first step. Proper preparation makes the process easier and protects your tent fabric. Start by choosing a clean, flat workspace free of dirt and dust. This helps avoid stains and damage during cleaning.
Next, dry your tent completely. Moisture can weaken the sealer and make removal harder. A dry tent allows the sealer to peel off more smoothly. Spread the tent out flat, stretching the seams gently but not too tight.
Gather Necessary Tools And Materials
Collect all items before starting. You will need a soft brush, a plastic scraper, mild soap, warm water, and clean cloths. Avoid sharp tools that can tear fabric. Having everything ready saves time and prevents frustration.
Clean The Tent Surface
Remove dirt and grime from the tent surface first. Use warm water and mild soap with a soft cloth or sponge. Gently wipe the seams to loosen dirt. Clean seams help the sealer come off more easily.
Test A Small Area
Try the removal process on a small, hidden seam first. This helps check fabric reaction and effectiveness. Watch for any damage or discoloration. Testing prevents surprises on the main tent parts.
Softening The Old Seam Sealer
Softening the old seam sealer makes removal easier and cleaner. The sealer hardens over time and can crack or peel poorly. Softening it first helps avoid damage to your tent fabric. It also reduces the effort needed to scrape off the old sealer.
Use gentle methods to soften the sealer without harming the tent. Warmth and moisture are the best tools. They loosen the sealer’s grip, making it simpler to remove. Patience is key here.
Using Warm Water To Soften Seam Sealer
Warm water is a safe way to soften seam sealer. Dampen a clean cloth with warm water. Lay the cloth over the sealed seams. Let it sit for 10 to 15 minutes. The heat and moisture help break down the sealer’s hardness. Check the seam to see if it feels softer. Repeat if needed before scraping.
Applying Heat With A Hair Dryer
A hair dryer can gently heat the old seam sealer. Use a low or medium heat setting. Hold the dryer a few inches away from the seam. Move it slowly along the sealed area. Warm the sealer for 1 to 2 minutes. Avoid high heat to protect the tent fabric. The warmth makes the sealer more flexible and easier to remove.
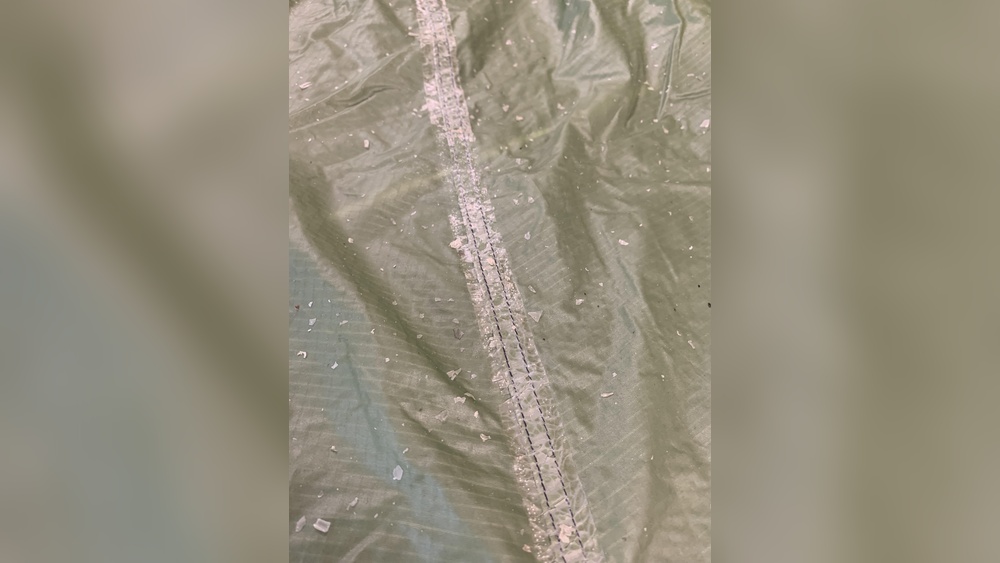
Using Rubbing Alcohol To Loosen Sealer
Rubbing alcohol softens some types of seam sealers. Apply a small amount on a cloth. Dab the cloth onto the sealer. Let it sit for a few minutes. The alcohol breaks down the sealer’s bond. Test on a small area first to ensure no damage. Use this method carefully and sparingly.

Credit: www.reddit.com
Scraping Off The Seam Sealer
Removing old tent seam sealer requires patience and care. Scraping off the seam sealer is the first important step. This process helps prepare the fabric for new sealer or repairs. Using the right tools and methods makes the job easier and protects your tent fabric.
Choosing The Right Tool For Scraping
Select a plastic scraper or a dull knife. Avoid sharp blades to prevent damage. Plastic tools remove sealer gently. Metal tools may tear the fabric. A credit card or a plastic putty knife works well. Use tools with smooth edges for best results.
Softening The Seam Sealer
Softening the old sealer makes scraping easier. Warm the area slightly with a hair dryer. Heat loosens the sealer without harming the tent. Avoid using too much heat. Test a small spot first to be safe. Softened sealer peels off more smoothly.
Scraping Technique And Tips
Start scraping from one edge of the seam. Work slowly and gently. Use short, light strokes. Push the sealer away from the fabric, not into it. Clean the scraper often to avoid buildup. Remove small pieces step by step. Patience prevents fabric damage.
Cleaning Residue From Tent Fabric
Cleaning residue from tent fabric is important for tent care. Old seam sealer can leave sticky spots. These spots attract dirt and weaken fabric over time. Removing residue keeps your tent clean and extends its life. The process needs care to avoid damaging the fabric.
Use Gentle Cleaners
Choose mild soap and warm water for cleaning. Harsh chemicals can harm fabric and coatings. Mix a small amount of soap with water. Use a soft cloth or sponge to apply. Gently rub the stained area in small circles. Avoid scrubbing hard to protect fabric threads.
Test On A Small Area First
Always test cleaners on a hidden part. This prevents unexpected damage or color change. Wait a few minutes after applying cleaner. Check for any fabric reaction before full cleaning. This step saves your tent from harm.
Rinse Thoroughly
Remove all soap and residue by rinsing well. Use clean water and a cloth or sponge. Leaving soap can attract more dirt. Rinse until water runs clear. This keeps fabric fresh and ready for use.
Dry Completely
Let the tent fabric dry fully before packing. Damp fabric can develop mold and mildew. Hang the tent in a shaded, well-ventilated place. Avoid direct sunlight to prevent fading. Drying well keeps the tent safe and clean.
Drying And Inspecting The Tent
Drying and inspecting the tent is an important step after removing old seam sealer. This process helps find any damage or weak spots. It also prepares the tent for new seam sealer application.
Start by hanging the tent in a dry, shaded area. Avoid direct sunlight to prevent fabric damage. Let the tent air dry completely. This might take several hours or a full day, depending on weather and fabric thickness.
Once dry, carefully check every seam and fabric area. Look for cracks, holes, or thin spots. These can cause leaks or make the tent less strong. Mark these areas with a small piece of tape or a fabric-safe marker.
Check For Leftover Seam Sealer
Old seam sealer can leave sticky or hard patches. These patches might stop new sealer from sticking well. Rub these areas gently with a cloth or soft brush. Remove any loose or flaking sealer bits.
Inspect Tent Fabric Condition
Look closely at the tent fabric for tears or worn spots. Pinch the fabric to test its strength. Weak fabric may need patching or replacement. Knowing fabric condition helps plan repairs better.
Test Zippers And Other Parts
Check zippers, poles, and clips for damage. Ensure zippers run smoothly and do not catch. Broken parts affect tent setup and use. Fix or replace damaged parts before sealing seams again.
Applying New Seam Sealer
Applying new seam sealer is key to keeping your tent waterproof and strong. After removing the old sealer, the surface must be clean and dry. This step ensures the new sealer sticks well and lasts longer.
Using the right tools and materials makes the job easier. A smooth, even layer protects your tent from rain and wind. Follow each step carefully for the best results.
Choose The Right Seam Sealer
Select a seam sealer made for your tent’s fabric. Different materials need different sealers. Check the label or ask at the store. Using the wrong sealer can damage your tent.
Prepare The Tent Surface
Clean the seams thoroughly before applying the new sealer. Remove dust, dirt, and any leftover old sealer. Use a soft cloth and mild soap if needed. Let the seams dry completely.
Apply The Seam Sealer Evenly
Use a small brush or applicator for the sealer. Spread a thin, even layer along each seam. Avoid thick blobs or gaps. Smooth application helps the sealer dry properly.
Let The Sealer Dry Completely
Allow the sealer to dry in a warm, dry place. Drying time varies, usually several hours to a day. Do not pack or use the tent until the sealer is fully dry.
Check For Missed Spots
Inspect the seams after drying. Look for thin or missed areas. Apply another thin layer if needed. Proper coverage ensures full waterproof protection.

Credit: subzero.co.uk
Tips For Maintaining Seam Sealer
Maintaining your tent’s seam sealer is key to keeping your tent waterproof and durable. Good care extends the life of the sealer and protects your tent from leaks. Simple habits and regular checks help keep seams strong and sealed.
Seam sealer needs attention before and after every camping trip. Clean seams gently and apply sealer carefully. Avoid harsh chemicals or rough scrubbing to protect the fabric. Small repairs done early prevent bigger problems later.
Cleaning Seams Properly
Use mild soap and water to clean tent seams. Avoid strong detergents or bleach that damage fabric. Gently wipe seams with a soft cloth. Let seams dry completely before sealing or packing your tent.
Applying Seam Sealer Correctly
Apply seam sealer in thin, even layers. Use a small brush or applicator for control. Cover all stitching and fabric edges carefully. Allow each layer to dry fully before adding more.
Inspecting Seams Regularly
Check seams for cracks, peeling, or wear after every use. Look closely at stitch lines and corners. Early signs of damage need quick attention to stop leaks.
Storing Tent With Care
Store your tent dry and away from direct sunlight. Heat and moisture break down seam sealer faster. Fold tent loosely to avoid creasing sealed seams.

Credit: www.walmart.com
Frequently Asked Questions
How Do I Safely Remove Old Tent Seam Sealer?
Use a plastic scraper to gently lift the sealer. Apply rubbing alcohol with a cloth to soften it. Avoid harsh chemicals to protect the fabric.
What Tools Are Best For Removing Seam Sealer?
A plastic scraper, rubbing alcohol, and a soft cloth work best. Avoid metal tools to prevent fabric damage. Patience is key for thorough removal.
Can I Reuse The Tent After Removing Seam Sealer?
Yes, after removing old sealer, clean the area well. Apply new seam sealer to ensure waterproofing. Allow it to dry completely before use.
How Long Does It Take To Remove Old Seam Sealer?
It usually takes 15-30 minutes depending on sealer thickness. Softening with rubbing alcohol speeds up the process. Avoid rushing to prevent fabric harm.
Conclusion
Removing old tent seam sealer does not have to be hard. Use gentle tools and cleaners for best results. Take your time and work carefully to avoid damage. Clean seams help keep your tent strong and dry. Regular maintenance can extend your tent’s life.
Try these steps to make your tent ready for your next trip. Simple care makes a big difference in outdoor gear. Ready for your next adventure? Your tent will be too.