
Your car’s headlamps are more than just lights—they’re your eyes on the road, especially when night falls or weather turns bad. When one bulb burns out, it’s not just an inconvenience; it’s a safety risk and can even cost you a ticket.
But replacing a headlamp bulb doesn’t have to be confusing or expensive. In this guide, you’ll learn exactly how to replace your headlamp bulb quickly and easily, saving you time and money. Keep reading, and you’ll be back on the road with bright, clear headlights in no time.

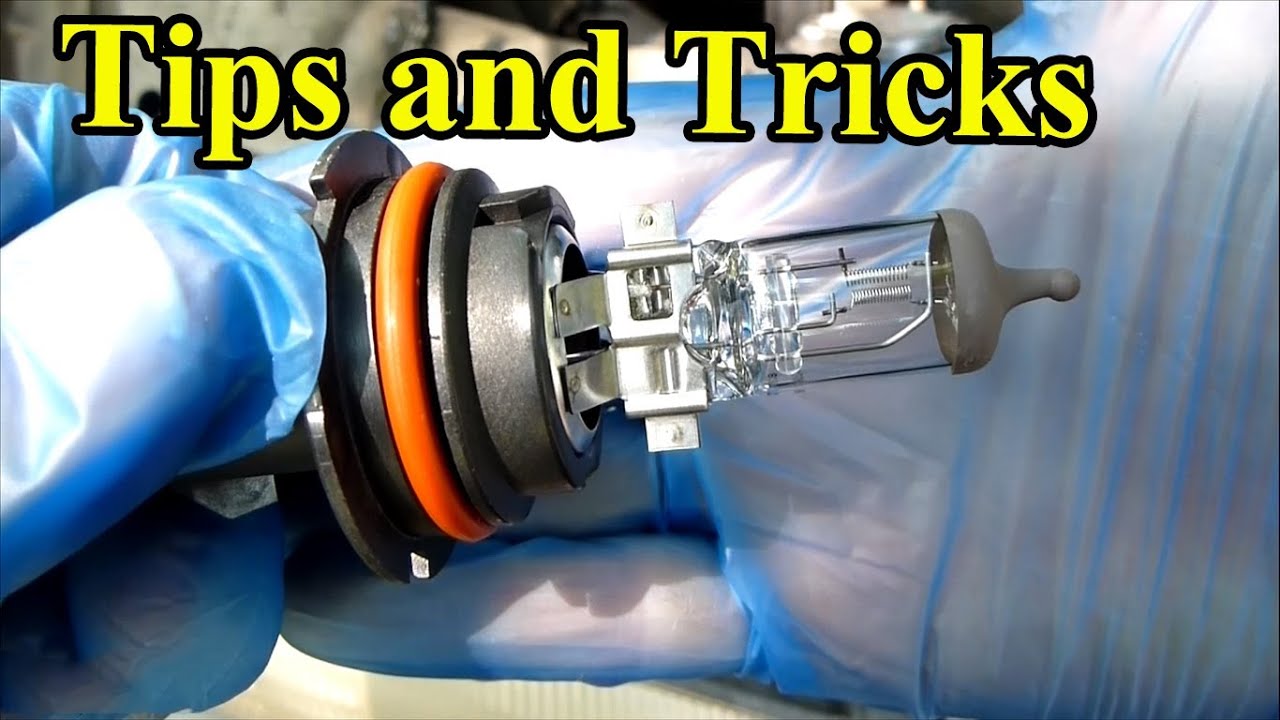
Credit: www.hella-bulbs.com
Tools Needed
Replacing a headlamp bulb needs the right tools. Having these tools ready makes the job simple and fast.
Tools help you work safely and avoid damage to your car parts. Here are the main tools you will need.
Screwdrivers
Flathead and Phillips screwdrivers help remove covers and screws. They fit most car models.
Gloves
Use clean gloves to keep oils off the bulb. Oils can make bulbs burn out fast.
Socket Wrench Set
A socket wrench set is useful for tight bolts. It gives better grip and control.
Replacement Bulb
Always have the correct bulb type for your car. Check the manual or the old bulb label.
Clean Cloth
A soft cloth helps clean the bulb and headlamp lens. It removes dirt and dust easily.
Safety Precautions
Safety is the top priority when replacing a headlamp bulb. Follow these steps to protect yourself and your vehicle. Taking simple precautions can prevent injuries and damage.
Before starting, ensure the car is parked on a flat surface. Turn off the engine and remove the keys. Let the headlamp cool down. Bulbs get very hot and can burn your skin.
Wear Protective Gloves
Wear gloves to avoid cuts and burns. Gloves also keep oils from your skin off the bulb. Oil can shorten the bulb’s life or cause it to break.
Disconnect The Battery
Disconnect the car battery to stop electrical shocks. This also prevents short circuits. Always remove the negative terminal first.
Avoid Touching The Glass Bulb
Touch only the base of the bulb. Skin oils cause hot spots on the glass. These spots can make the bulb fail quickly.
Use Proper Tools
Use the right tools for the job. This avoids damage to the bulb or headlamp housing. Handle everything gently and carefully.
Accessing The Headlamp
Accessing the headlamp is the first step to replace its bulb safely. Knowing how to reach the bulb helps you avoid damage. It also saves time and effort. This guide shows clear steps to access the headlamp in most cars.
Opening The Hood
Start by opening your car’s hood. Locate the hood release lever inside the car, usually near the driver’s seat. Pull it to unlock the hood. Then, go to the front of the car. Find the hood latch and lift the hood carefully. Use the hood prop rod to keep it open securely.
Locating The Bulb Housing
Look behind the headlamp from inside the engine bay. The bulb housing is a round or square cover. It may have clips, screws, or a twist lock. Remove the cover gently to expose the bulb. Be careful not to touch other parts inside the engine bay. This step is crucial for safe bulb replacement.
Removing The Old Bulb
Removing the old headlamp bulb is the first step in replacing it. This process requires care to avoid damage. Follow simple steps to safely remove the bulb. This ensures the new bulb fits and works properly.
Disconnecting The Power Connector
Start by opening the hood of your car. Locate the back of the headlamp assembly. Find the power connector attached to the bulb. Gently press the tab or clip on the connector. Pull the connector straight out to disconnect it. Avoid pulling the wires to prevent damage.
Releasing The Bulb
Look for a retaining clip or ring holding the bulb. Press or twist the clip carefully to release it. Pull the bulb straight out of the socket. Do not force or twist the bulb too hard. Handle the bulb by its base, not the glass. This prevents oils from your skin damaging the bulb.
Installing The New Bulb
Installing the new headlamp bulb is a simple but important step. Proper installation ensures your light works well and lasts longer. Follow these steps carefully to avoid damage and keep your car safe on the road.
Handling The Bulb Properly
Always hold the bulb by its base, not the glass. Touching the glass can leave oils that cause the bulb to burn out quickly. Use a clean cloth or gloves to keep the bulb clean. Handle it gently to avoid breaking the fragile glass.
Securing The Bulb In Place
Fit the bulb into the socket carefully. Make sure it sits firmly and aligns with the slots. Twist or clip it in according to your car’s design. A loose bulb can cause flickering or fall out while driving.
Reconnecting The Power Connector
Attach the power connector to the bulb’s base. Push it in firmly until it clicks or fits snugly. A loose connection will stop the bulb from lighting. Double-check the connection before closing the headlamp cover.
Testing The Headlamp
Testing the headlamp is an important step after replacing the bulb. It ensures the light works properly and keeps you safe on the road. A quick test shows if the bulb is installed correctly. It also checks the brightness and beam direction.
Testing is simple and takes just a few minutes. Follow clear steps to avoid mistakes and confirm everything works well. This helps you spot problems early and fix them fast.
Turn On The Headlamp
Switch on the car’s ignition. Then, turn on the headlamp to check if the bulb lights up. The light should be bright and steady. Flickering or dim light means there is a problem.
Check Both High And Low Beams
Test both the high and low beams separately. Use the car’s control to switch between them. Each beam should shine clearly. If one beam is not working, the bulb or wiring might be faulty.
Inspect The Beam Pattern
Stand in front of the car and look at the light’s beam. The beam should be even and aimed forward. A crooked or scattered beam needs adjustment. Proper beam direction helps you see the road better.
Look For Flickering Or Dim Light
Watch the light for flickering or dim spots. This can show a loose connection or a bad bulb. The light should be stable without flickers or dark areas.
Test In Different Lighting Conditions
Check the headlamp in both daylight and darkness. Some problems show only in the dark. Make sure the light is strong enough to guide you at night.
Troubleshooting Tips
Troubleshooting headlamp bulb replacement can save time and effort. Simple checks often fix common problems. Understanding these tips helps avoid mistakes and ensures the new bulb works well.
Check The Bulb Type
Use the exact bulb type recommended for your vehicle. Different bulbs have different connectors and wattage. The wrong bulb may not fit or burn out quickly.
Inspect The Bulb Socket
Look inside the socket for corrosion or damage. Dirty or rusted contacts stop electricity flow. Clean gently with a cloth or small brush if needed.
Test The Headlamp Fuse
Find the fuse box and check the headlamp fuse. A blown fuse causes the bulb not to light. Replace the fuse with one of the same rating.
Secure The Bulb Properly
Make sure the bulb fits tightly in the socket. A loose bulb can flicker or fail to turn on. Align the bulb tabs with the socket slots correctly.
Check The Wiring Harness
Examine wires for cuts, burns, or loose connections. Damaged wiring stops power from reaching the bulb. Repair or replace faulty wires as needed.
Test The Headlamp Switch
The switch inside the car controls the lights. A broken switch stops power flow. Test the switch or have a mechanic check it if bulbs and fuses are fine.
Credit: www.youtube.com

Credit: us.haynes.com
Frequently Asked Questions
How Do I Know When To Replace A Headlamp Bulb?
You should replace a headlamp bulb when it dims, flickers, or stops working. Regular checks ensure safe night driving and prevent sudden failures.
What Tools Are Needed To Replace A Headlamp Bulb?
Typically, you need a screwdriver and gloves. Some cars may require additional tools, so check your vehicle manual before starting.
Can I Replace A Headlamp Bulb Myself Safely?
Yes, replacing a headlamp bulb is simple with proper precautions. Always turn off the engine and avoid touching the bulb glass.
How Long Does It Take To Replace A Headlamp Bulb?
Replacing a headlamp bulb usually takes 10 to 20 minutes. Time may vary based on your car model and experience level.
Conclusion
Replacing a headlamp bulb is easier than it seems. Follow the steps carefully to avoid mistakes. Always handle the bulb with clean hands to keep it safe. Test the new bulb before finishing the job. Regular checks help keep your lights bright and safe.
A working headlamp improves your night driving and road safety. Taking a little time today saves bigger problems tomorrow. Stay confident and keep your car ready for any drive.