Are your hiking boots feeling loose or uncomfortable? Knowing how to tie your hiking boots properly can make a huge difference in your comfort and safety on the trail.
When your boots fit just right, you avoid blisters, ankle twists, and sore feet. In this guide, you’ll discover simple, effective ways to tie your boots so they stay snug and supportive no matter where your hike takes you. Keep reading, and you’ll learn the easy tricks that can turn your hiking experience from frustrating to fantastic.
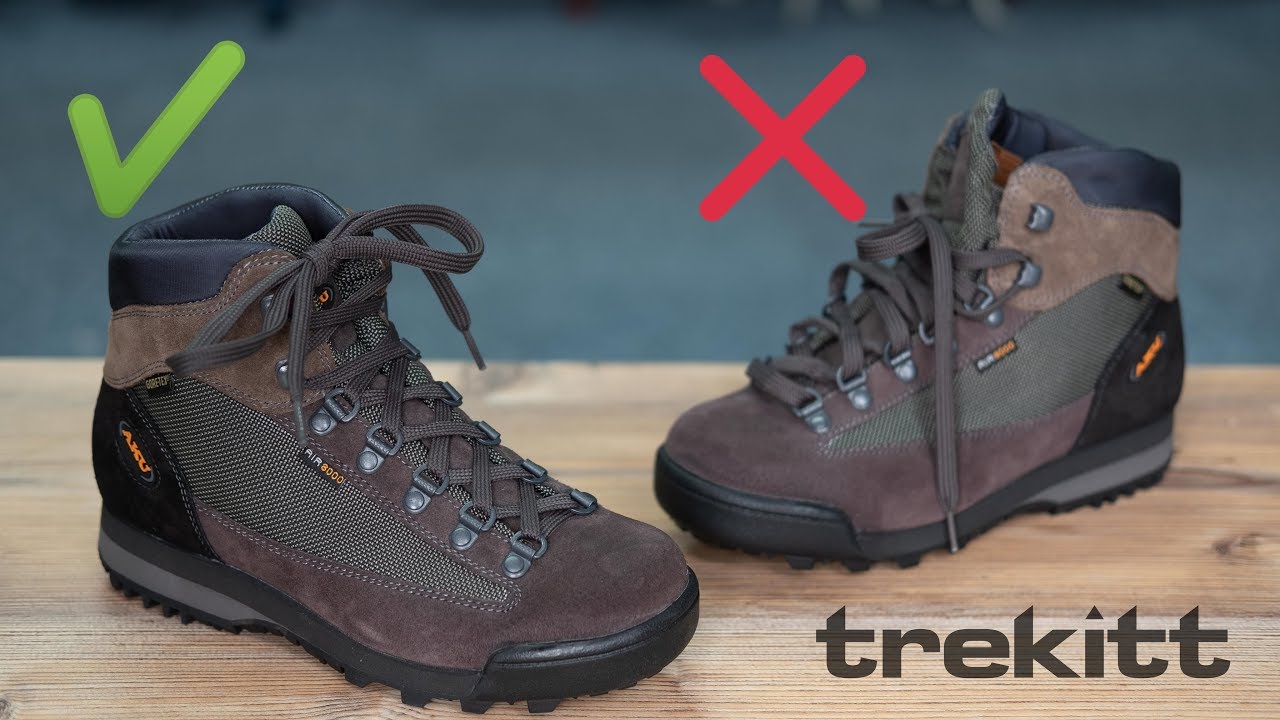
Credit: www.youtube.com
Choosing The Right Laces
Choosing the right laces for your hiking boots is very important. Good laces keep your boots tight and secure. They also help prevent blisters and injuries. Picking laces that fit well and last long saves time and money. Let’s explore the types, materials, and lengths of hiking boot laces.
Types Of Hiking Boot Laces
There are different types of laces for hiking boots. Round laces are strong and last longer. Flat laces stay tied better and don’t slip easily. Some laces have special coatings to resist water and dirt. Choose a type that fits your hiking needs.
Material And Durability
Laces come in several materials. Nylon laces are tough and dry quickly. Polyester laces resist stretching and wear well. Leather laces offer a classic look but need care. Strong materials keep laces from breaking on rough trails.
Length Considerations
Choosing the right lace length is key. Short laces might not tie well on tall boots. Long laces can get caught or drag on the ground. Measure your boot eyelets to find the perfect length. Proper length laces make hiking safer and easier.
Credit: www.rei.com
Preparing Your Boots
Preparing your hiking boots is the first step to a comfortable hike. Proper preparation helps avoid blisters and foot pain. It also improves support and stability on rough trails. Start by making sure the boots are ready for your feet and the journey ahead.
Loosening The Eyelets
Begin by loosening the eyelets. Pull the laces gently to create more space. This makes it easier to slide your foot inside. Loosening also prevents pressure points on the top of your foot. It helps you adjust the tightness later for a perfect fit.
Aligning The Tongue
Next, align the tongue of the boot. Make sure it lies flat and centered. A twisted tongue can cause discomfort and rubbing. Smooth out any wrinkles or folds. Proper alignment protects your foot from irritation during long walks.
Checking Boot Fit
Finally, check the fit of your boots. Your toes should have some wiggle room but not slide forward. The heel must stay snug without slipping. Walk around a bit to feel how the boots fit. Adjust laces if needed for better comfort and support.
Basic Lacing Techniques
Lacing hiking boots correctly helps keep feet safe and comfortable. Basic lacing techniques work well for many hikers. These methods offer a good fit and easy adjustment. Learning these simple styles improves your hiking experience. Below are two popular ways to lace your boots.
Crisscross Lacing
Crisscross lacing is the most common method. It uses a simple pattern that crosses over each time. Start by threading the lace through the bottom eyelets. Pull the ends up and cross them over. Thread each end through the next eyelet on the opposite side. Repeat this pattern until you reach the top. This style holds the foot firmly inside the boot. It is easy to tighten and loosen as needed. Crisscross lacing fits most foot shapes well.
Straight Bar Lacing
Straight bar lacing creates neat, horizontal bars across the boot. Begin by threading the lace straight across the bottom eyelets. Pull the ends up on the inside and out through the next eyelet. Then, cross the lace underneath and out through the opposite eyelet. Continue this pattern to the top of the boot. This technique reduces pressure points on the foot. It also makes the laces less likely to snag on branches. Straight bar lacing looks clean and feels comfortable.
Advanced Lacing For Comfort
Advanced lacing techniques improve hiking boot comfort and fit. They help prevent blisters and foot pain. Using the right lacing method supports your foot during long hikes. These methods adjust tightness in different boot areas. You get better control and stability on uneven trails.
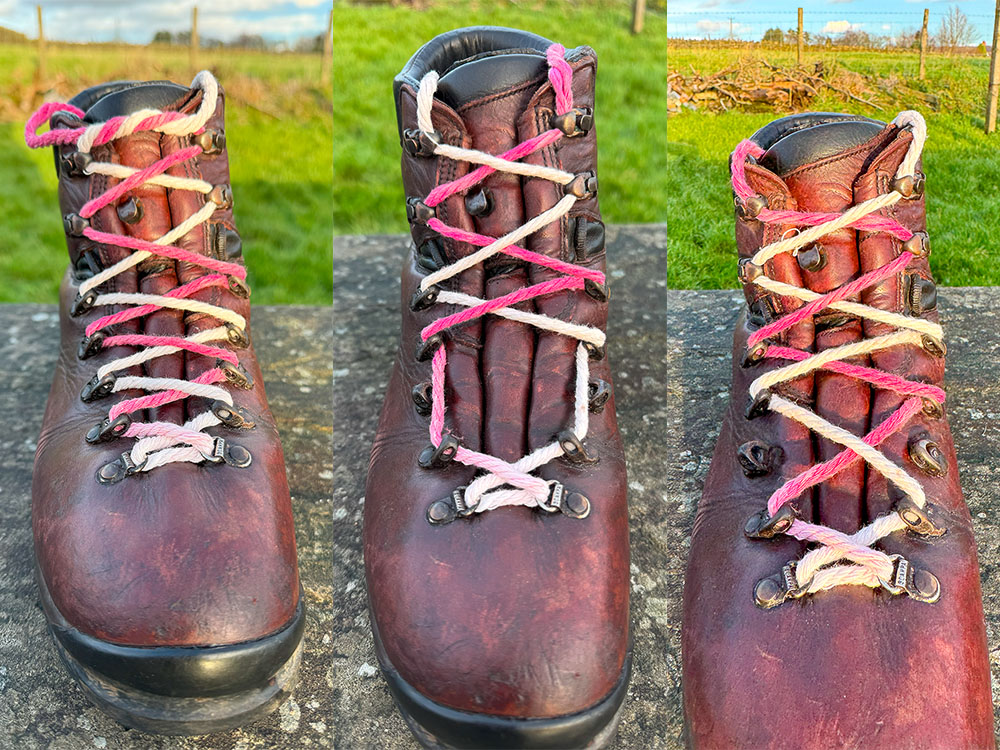
Heel Lock Lacing
The heel lock lacing stops your heel from slipping. It keeps your foot tight inside the boot. To do this, loop the laces through the top eyelets twice. Then pull tight and tie normally. This method reduces blisters and improves ankle support.
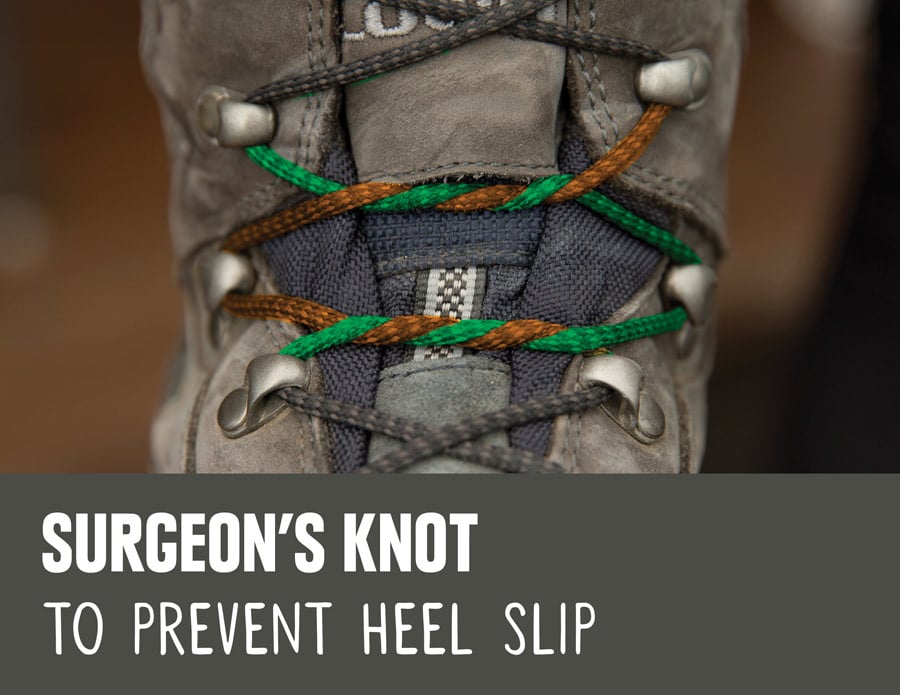
Surgeon’s Knot
The surgeon’s knot adds extra hold in the middle of the boot. It stops the laces from loosening during hikes. To make it, cross the laces and tie a double knot in the middle. Pull tight before finishing the normal knot. This keeps your foot stable on rough paths.
Lacing For Wide Feet
Wide feet need more room in the boot. Use a straight bar lacing style for comfort. Skip some eyelets to reduce pressure on the top of your foot. This method spreads tension evenly and avoids tight spots. Your foot will feel less squeezed and more relaxed.
Lacing For Narrow Feet
Narrow feet require a snug fit to avoid slipping. Use a criss-cross lacing pattern that tightens the boot evenly. Pull the laces firm but not too tight. This keeps your foot secure and prevents blisters. The boot stays comfortable on long walks.
Adjusting Tension For Support
Adjusting the tension of your hiking boots is key for good support. Proper tension keeps your feet stable without feeling tight. It helps prevent injuries and keeps you comfortable on rough trails. Learning to balance tightness and looseness is important for a safe hike.
Even Tension Tips
Start by pulling the laces evenly on both sides. Avoid tight spots that can cause discomfort. Work from the bottom up, tightening each section gently. Check that the laces hold your foot firmly but do not squeeze. Even tension helps your foot stay secure and reduces slipping.
Preventing Pressure Points
Pressure points cause pain and blisters on long hikes. Loosen the laces near sensitive areas like the ankle or top of the foot. Use a figure-eight lacing pattern to spread pressure evenly. Adjust tightness after walking a few minutes to spot sore spots. Protect your feet by avoiding overly tight knots.
Allowing Toe Movement
Your toes need space to move naturally inside the boot. Leave a bit of slack in the top laces near the toe box. This prevents cramping and allows better balance on rocky paths. Test toe wiggle after tying your boots. Proper toe room reduces fatigue and improves hiking comfort.
Maintaining Your Laces
Maintaining your hiking boot laces is important for a safe and comfortable hike. Good laces keep your boots secure and prevent accidents. Taking care of them helps your boots last longer and saves you money. Simple steps can keep laces in good shape and ready for any trail.
Regular Checks
Check your laces before every hike. Look for fraying or small cuts. Notice if the lace feels weak or thin in spots. Test the knots to see if they hold tight. Replace or fix laces that show wear. This prevents breaks during your walk.
Replacing Worn Laces
Choose laces that match your boot size and style. Synthetic laces last longer and resist water. Carry an extra pair on long trips. Replace laces at the first sign of damage. New laces help keep your boots snug and safe.
Cleaning And Care
Remove dirt and mud from laces after hiking. Use warm water and mild soap to clean them. Air dry completely before storing boots. Dirty laces weaken over time and can snap easily. Clean laces last longer and look better on your boots.
Credit: www.dentalhousecr.com
Frequently Asked Questions
How Tight Should Hiking Boots Be Tied?
Hiking boots should be snug but not too tight. Ensure your toes have room to move. This prevents discomfort and blisters during long hikes. Proper tightness supports your ankles and enhances stability on uneven terrain.
What Is The Best Knot For Hiking Boots?
The best knot for hiking boots is the “heel lock” or “lace lock” knot. It secures your heel, preventing slippage inside the boot. This knot reduces friction and helps avoid blisters on steep or rough trails.
How Often Should You Retie Hiking Boots?
Retie your hiking boots every few hours or when you feel looseness. Adjusting laces maintains foot support and prevents pressure points. Retieing is essential after crossing wet areas or rough terrain to keep boots secure.
Can Improper Lacing Cause Foot Pain?
Yes, improper lacing can cause foot pain and blisters. Loose laces lead to instability, while overly tight laces restrict circulation. Correct lacing evenly distributes pressure, providing comfort and preventing injuries on hikes.
Conclusion
Tying hiking boots correctly keeps your feet safe and comfortable. A good knot stops your boots from loosening on rough trails. Practice the steps a few times to get it right. Strong laces help prevent trips and blisters. Remember, tight enough but not too tight.
Now, you’re ready to enjoy every hike with confidence. Keep your boots tied well for a better outdoor experience. Simple care makes a big difference on your adventure.